
I made the mahogany Plugs from scrap and glued them in with epoxy.


It is now time to start some of the finish woodworking around the boat. This includes making some Mahogany wood plugs for the 42 screw holes and fit the trim in around the interior of the cabins and the splash well.
The trim work is very time consuming and it also takes a lot of patients. Time to turn the music on low and just relax. I have worked on this for 3 days and I am guessing I am only about half done.
I started out by making the curved corner pieces and I knew that I could not bend 3/16" material without it breaking so my plan was to glue up 3 pieces 1/16" thick so I could make the bend. The challenge I had was to get the material milled down to 1/16" thickness that I needed. My first attempt was to cut them on the table saw but I needed a zero clearance table saw insert around my blade so I made one. The zero clearance insert turned out really nice and I was confident that the thin stock would not fall into the hole between the blade and the table saw. Attempting to make a practice cut it became clear to me that I would have scrap material between the saw blade and the table saw fence so I stopped before I started. This method appeared to dangerous for me so I decided to use my planner.
I took some of the scape 5/16th inch mahogany deck boards and ran them thru the planner to get them to the 1/16th of an inch I needed. I used a scrap board to place my mahogany onto with double face tape so the planner would not tear up the thin stock. Then I used my heat gun to release the tape and removed my finished material.
I wanted to Pre-bend this material so that it would fit my glue up forms better, so I soaked the wood in hot water and clamped them to the curve in each corner and then let them dry overnight.


Next, I had to make templates for each of the 4 corners in the cabin areas and transfer each curve onto its own form. I then used the forms to glue up 3 pieces of 1/16" material. I let the glue-up dry overnight and then trimmed and epoxy each piece into place. I was only able to do two corners at a time because I ran out of clamps.
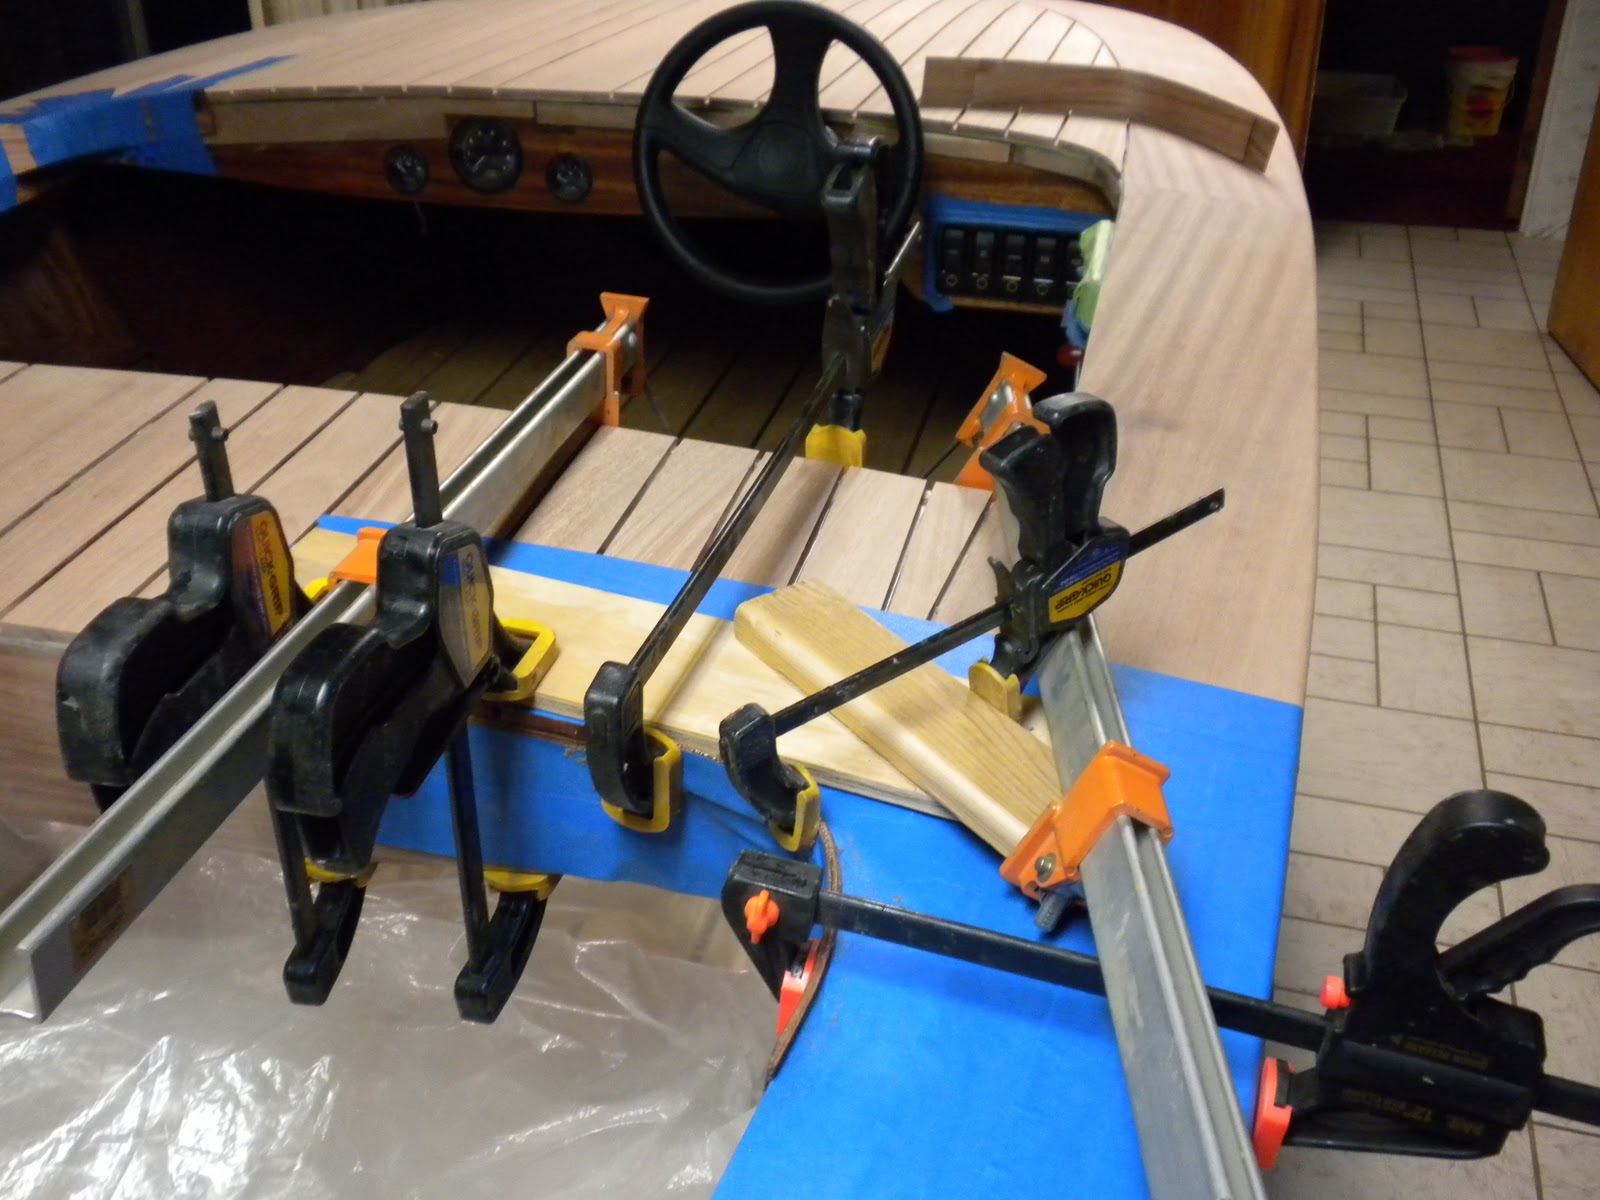

I had to get creative with the clamps for the corners

The above photo shows one corner glued in using epoxy.

These photos show some of the trim pieces clamped into position with epoxy.

You can never have enough clamps, Can you !!!
ReplyDeleteLooks great Ted.
Lou