Monday, November 15, 2010

The floor is installed

I have finally completed the floor installation.  The rear floor area was milled to 1/2" X 4.25" Ash and that weight came in at 17 lbs.  I am pleased with the look and now it will be time to move forward.
What is next?
This afternoon I will make another trip to the wood mill to pick up a few more Mahogany boards.  I will then start to make the bumper rails and boxing in the seat areas.

Monday, November 8, 2010

Taking some Weight Off

I have been working on the floor of the boat.  I made this floor from 3/4" ash and installed the two front sections.  The three sections are made up from front (under the deck), the main cockpit area and rear passenger cockpit area.  I really like the looks of the floor but the weight of the floor has bothered me.  I just had to know, so I put the floor from the under the deck and the main cockpit onto the scale and it came in at 72 pounds.  I went to the table saw and set up a dado blade and was able to shed 8.5 pounds off the weight.

Now my plan is make the rear cockpit floor from 1/2 inch Ash.  The span is not as long and I don't think the planks need to be as thick.  I will need to take the rough Ash that I have planed to 3/4 in, down to 1/2 in for the rear floor.

Yesterday evening, my brother Gary joined me for a few hours and were able to fit all the blocking and supports for rear floor. 

It continues to surprise me how long some of the little things take to make.  Once again it was great to have my brother help me with measuring and fitting.  It is also nice to have someone around so you can run ideas back and forth and come up with a better plan.

Sunday, October 31, 2010

Interior Structure lay out

Well, it has been sometime since my last post and I am sorry about that.  I have been very busy with life, the house, my airplane and just very busy at the fire department.  I have been working on the boat at least 2-3 times a week and even though it does not look like it in the photos, I have accomplished a lot of work on my boat.  In earlier pictures that I had posted, most of the interior structure was cut and fit into position and was held in position with either clamps or screws.Now, all the battens and motor well/splash well, bridge and passenger compartments and permanently glued/epoxied and screwed into position.  

The fuel tank is now in position. Building the motor well and doing the layout of both passenger compartments were a big job.  The real truth was that it just took a lot of thought and measuring. 

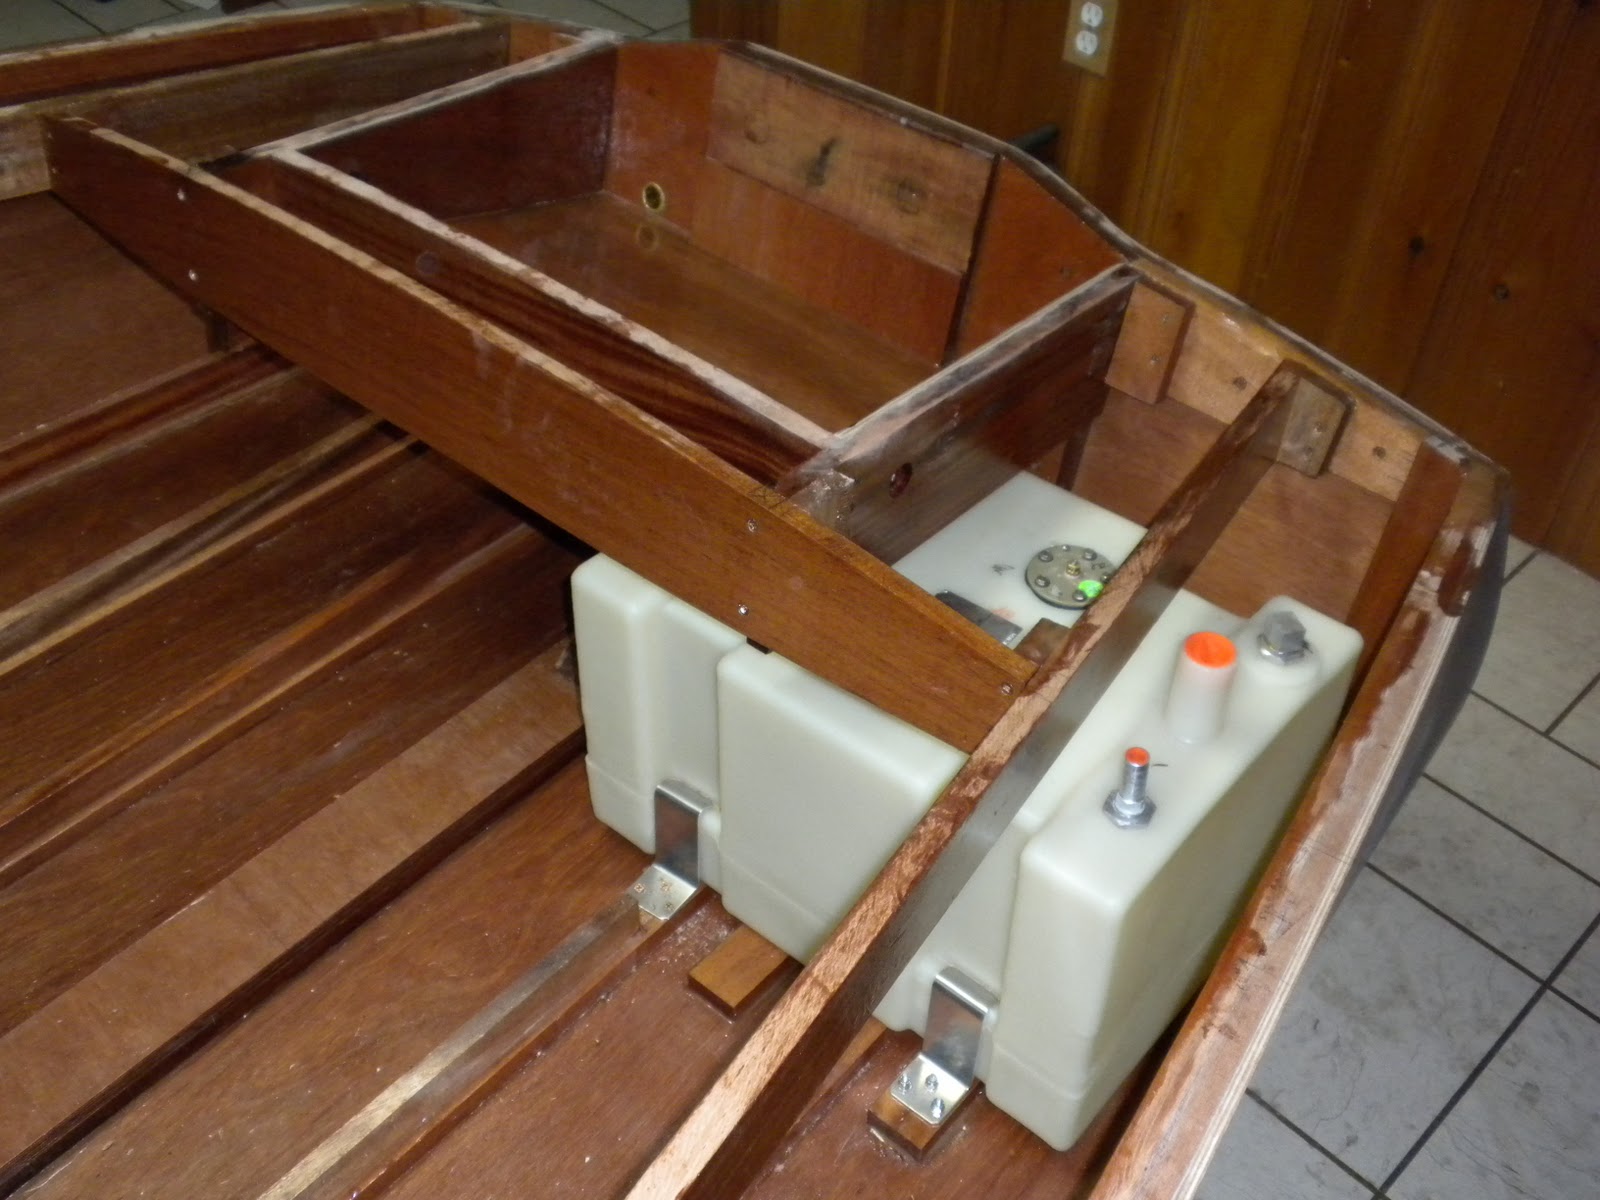
I also decided to put in two drain holes with the brass plugs on the outside of the transom.  I will have two bilge pumps but if I ever park the boat outside without the battery, I will have an option to drain some water.  The other to drain holes do not have a plug and remain open to let the splash water drain out.  I also put a couple of side holes into the well so the bilge can pump into the well so the water will flow out by gravity.

Next, I will be to build a battery mount, control mounts and the seat boxes but before I do all that, I will need to finish the floor in the rear passenger compartment.  All the other flooring is done and fitted, I just removed it for now so I have room to work with spilling epoxy on it.

Thursday, September 30, 2010

Motor Well / Splash Well

I have cut and fitted all the parts for the splash well and things are looking good.  My good friend Art Atkinson came over and helped me lift my 40 hp Johnson outboard onto the transom.  I wanted to see if I was going to have enough clearance before I epoxied everything into solid state.  Well, the answer was not really.  On the first attempt the motor did not fit on the transom because it measured 2 1/2" thick so I got out my router once again and cut away.  Now the transom width measures 2 1/4" and the motor slipped right into position and the clearance around the splash/motor well is good.  So now, I need to get at drilling two drain holes and start to epoxy everything into position.


Tuesday, September 28, 2010

Fuel Tank Install

I know it has been a while since my last post but I am back at boat building again.  I have struggled with the placement of the fuel tank.  As a matter of fact, I purchased a portable and a permanent fuel tank but at the end, I decided to go the permanent route.  I like the idea of a portable because I really don't need a lot of fuel and it would be nice to take the tank out for filling on shore but I just did not feel that I had the room to get the tank in and out and the bottom line is that I really did not like the look of an open well in the rear of the boat.

So, my final decision was a mounted fuel tank.  I choose a 12gal tank which I am mounting in left aft of the boat.  I ran into a few problems and they were all related to space.  The tank was just a little high because I had an 1 1/2" stiffener epoxied to the floor batten.   Using a router made a fast work to remove the vertical stiffener allowing the fuel tank to sit directly on the floor battens.  The position of the tank was important because I needed to allow room for the bilge pump between the tank and the transom knee.  Another area that I needed to pay close attention to was the slope of the splash well.  The top corner of the fuel tank needed to clear the bottom of the splash well.  I will have photos of the enclosed splash well fitting in my next post.

If you look very close in the photos you can see that I have epoxied stainless steel bolts into the floor batten making a hard point.  I feel that these hard points, attached using nylon nuts will be much stronger than screws.  All of the fasteners are not installed in the photos but you can see how the fuel tank is clamped into postion.

The only problem with this fuel tank location is that the rear seat box will need to be removed if there ever is a need to take the tank out for service.  It can be done, but will be a challenge to reach your arm around the tank.


Tuesday, August 10, 2010

Windshield Brackets Arrived

I ordered my windshield brackets from Lake Shore Aluminum Castings in Erie, Pa and they are now in my hands.  At the same time that I ordered mine, I also got a set for Squirt builder and friend Art Atkinson.  Art is now doing the research for us. We are going to get them polished and chrome plated.
If you look at the Zip boat at the very top of this page you can get an idea of what the windshield will look like once the glass is installed.

Monday, August 9, 2010

Layout of Floor and Fuel Tank

I have been busy encapsulating the floor boards with epoxy and trying to figure out where to place the fuel tank.  I bought a portable tank but after trying it in the boat I thought that it would be very difficult to remove without leaving the rear compartment open.  Having to leave the rear compartment open is not the look I want so I purchased a permanent fuel tank and now I am measuring for it's installation.